Helloooo, helloooooo, my Polymer clay Addicts :*
I always wondered how do the sellers from Etsy and other handmade online shops, take their pictures of the products…they look so perfect, so enlightened, SO PROFESSIONAL…
I thought that, for having such pics, you must have either a very cool expensive camera or to pay a professional photograph to do this job. (both are expensiveeee….auchhhhh, my wallet!!!!!!)
But no more!!!! After I discovered this technique…which is FREE, I said “Really?! Can it be that easy and cheap?” . I always knew that we must take the photos of our jewelry on sunlight. Which is true 100%. There is no better light that the natural light of our beloved Sun. But it’s not only this. Because even if your camera screen shows you wonderful, enlighted pictures, on your computer, they look kinda dark…a different result that the one expected.
And here comes the secret. Picassa!!! I must recognize, with shame, that I had this software on my laptop, but I wasn’t very tempted to try it, I considered it a bit low qualified for this job ( a big mistake from my part) .
While I was trying to take some photos for my future Etsy shop ( stay tunned guys….the best is yet to come ❤ “All Handmade Dreams” Etsy shop is on it’s wayyyyyyyyy ), I realized that the pics are kinda dark. They had the quality, but they were dark.
That day, I didn’t have the mood to work with Photoshop or with an online software, and Picassa popped in front of my eyes. “Hmmm…let’s see what this software is capable of!!”
And indeed, I wasn’t disappointed..I was so surprised of it. So easy and time saver.
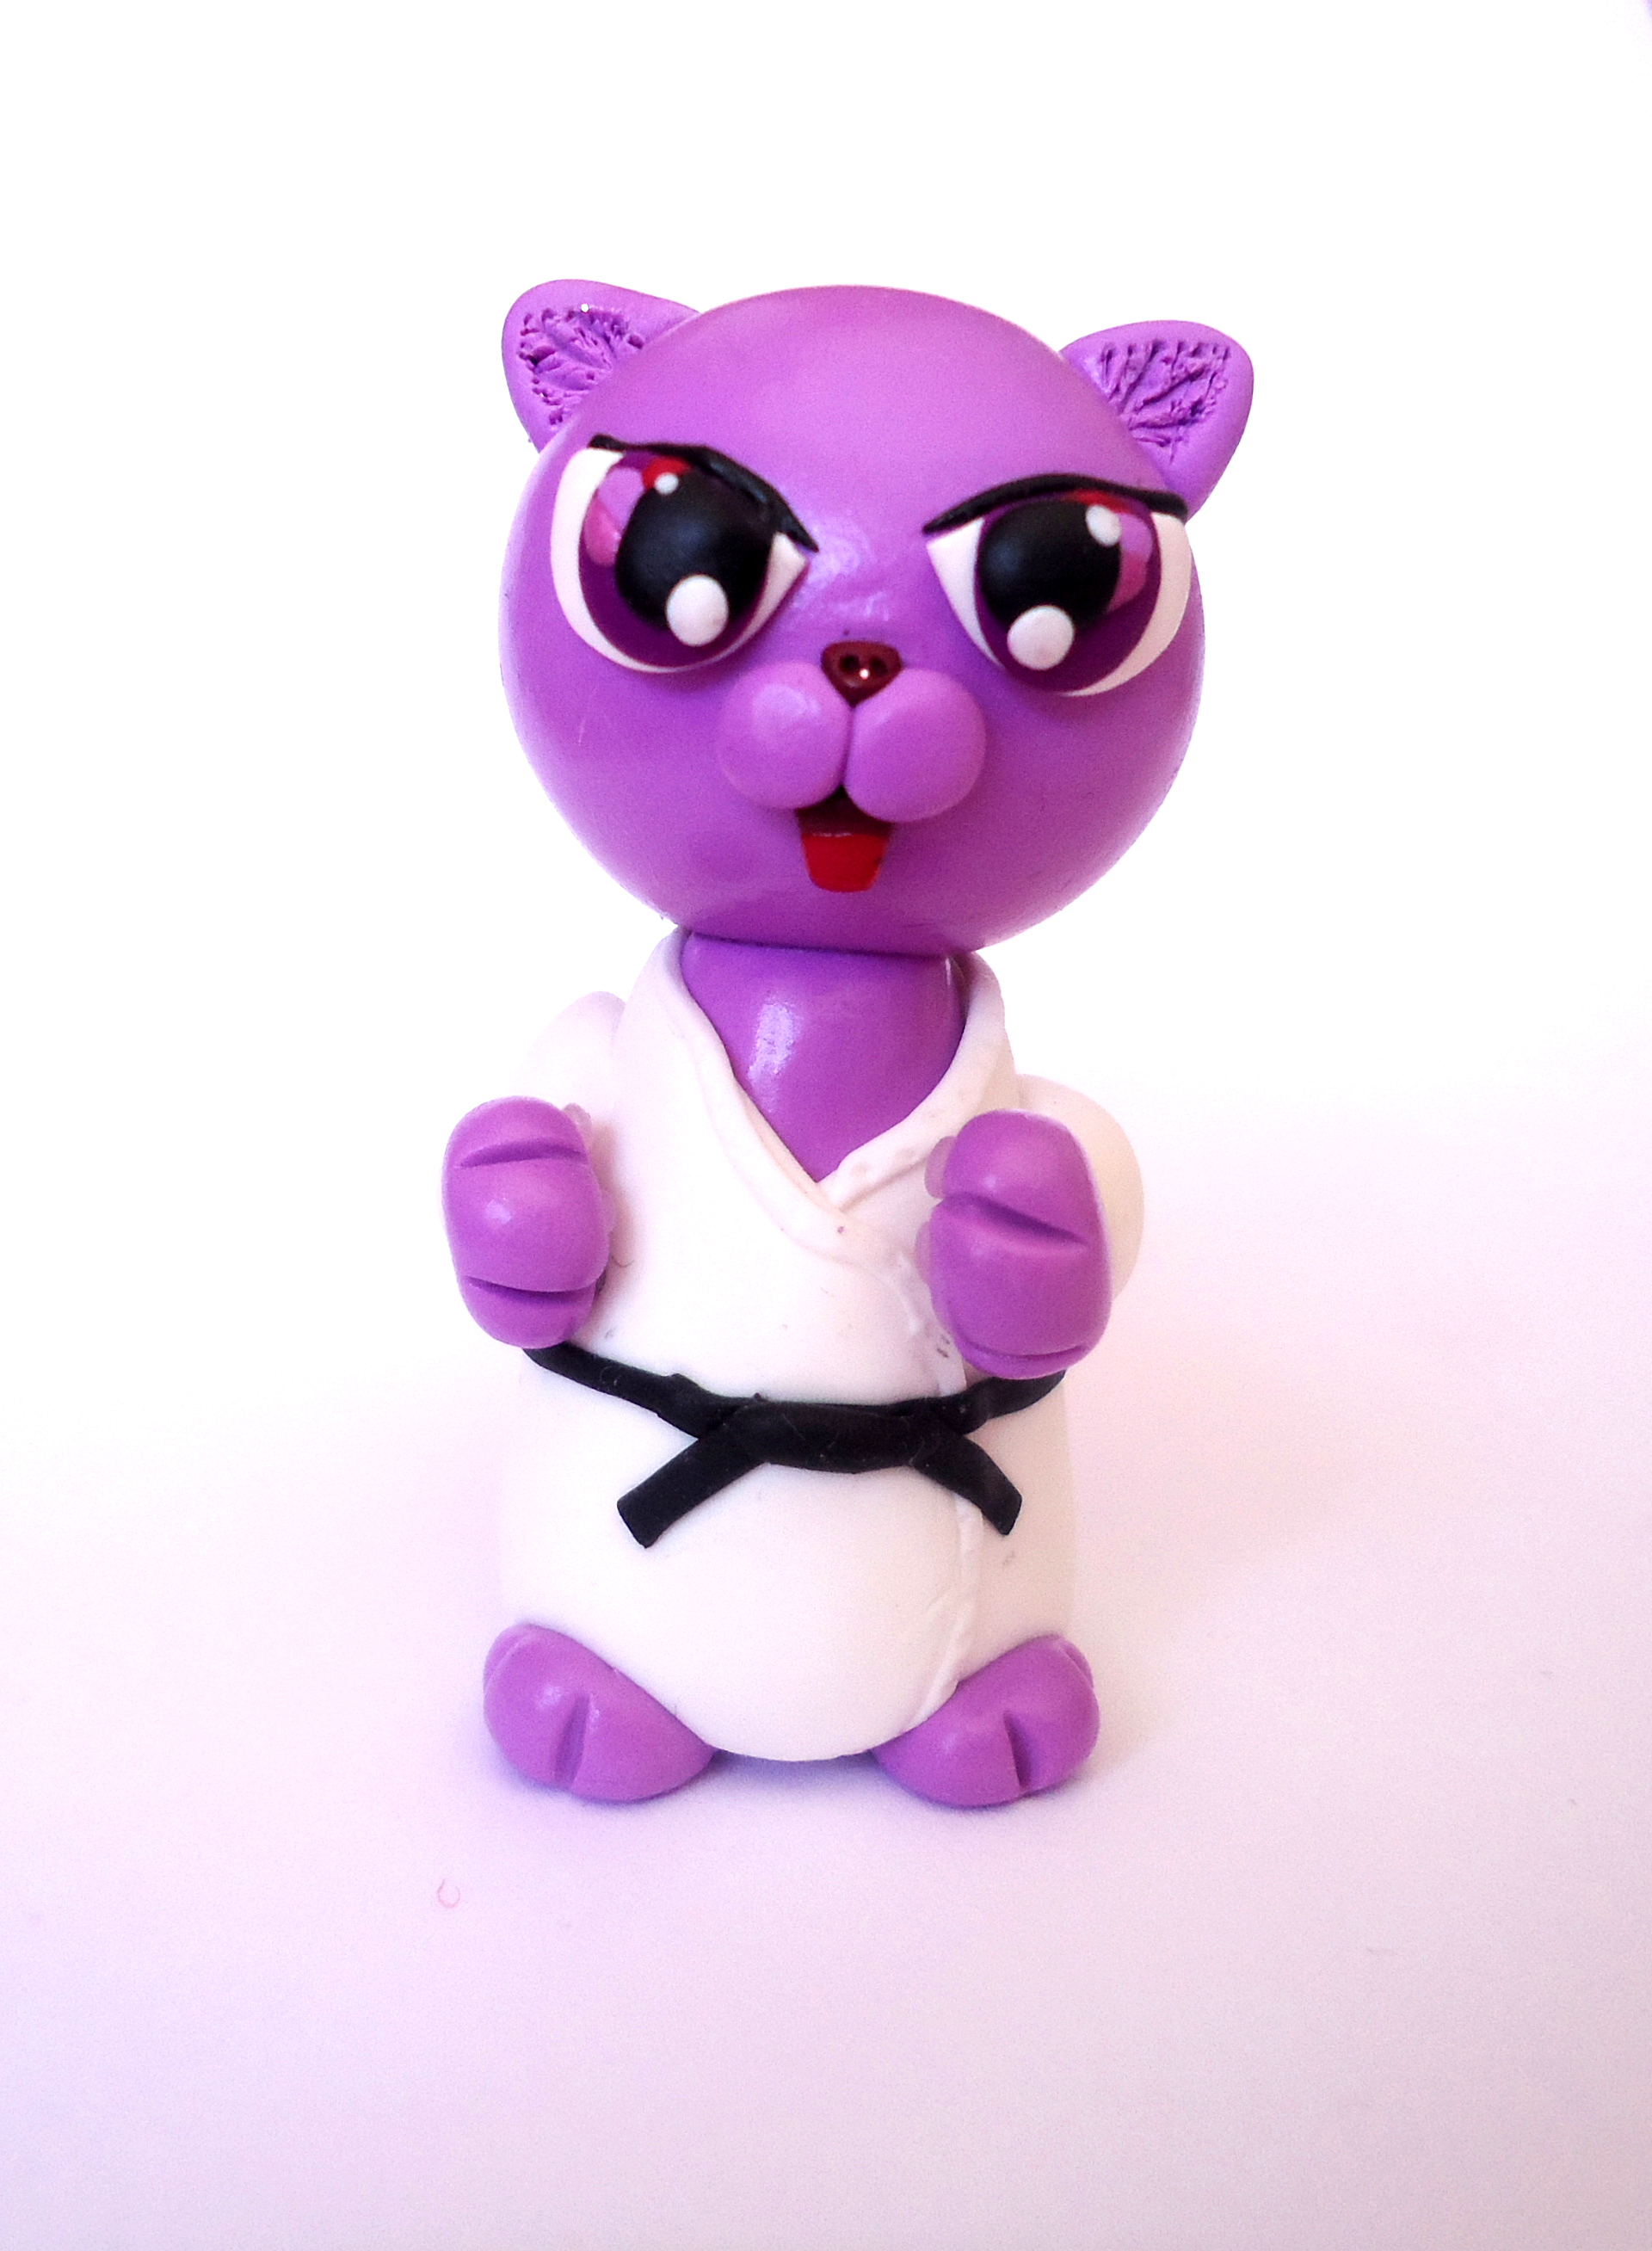
First, we have the décor. For me is just a white A4 paper. I raised it, to have like a wall behind my kitties.
The secret is to have a very good light from the Sun. And try the shadows not to pop on the paper-like on my example 😀 (which is kinda impossible, with our current tools), but at least to find a position, so that the shadow is not that obvious.
This is our sample. The Mad Kitty ….Miauuuu!!!!

What do we have to do?
We open Picassa. A window, like this one, that shows the picture, will appear.

We click on Finely tunned lighting and color fixes.

And we play with the fill light and highlights 😀 until we have the desired result.( I usualy use a bit of “Fill Light” and about half from Highlights.

And we save ❤ That’s all !!!!!!!!!!!
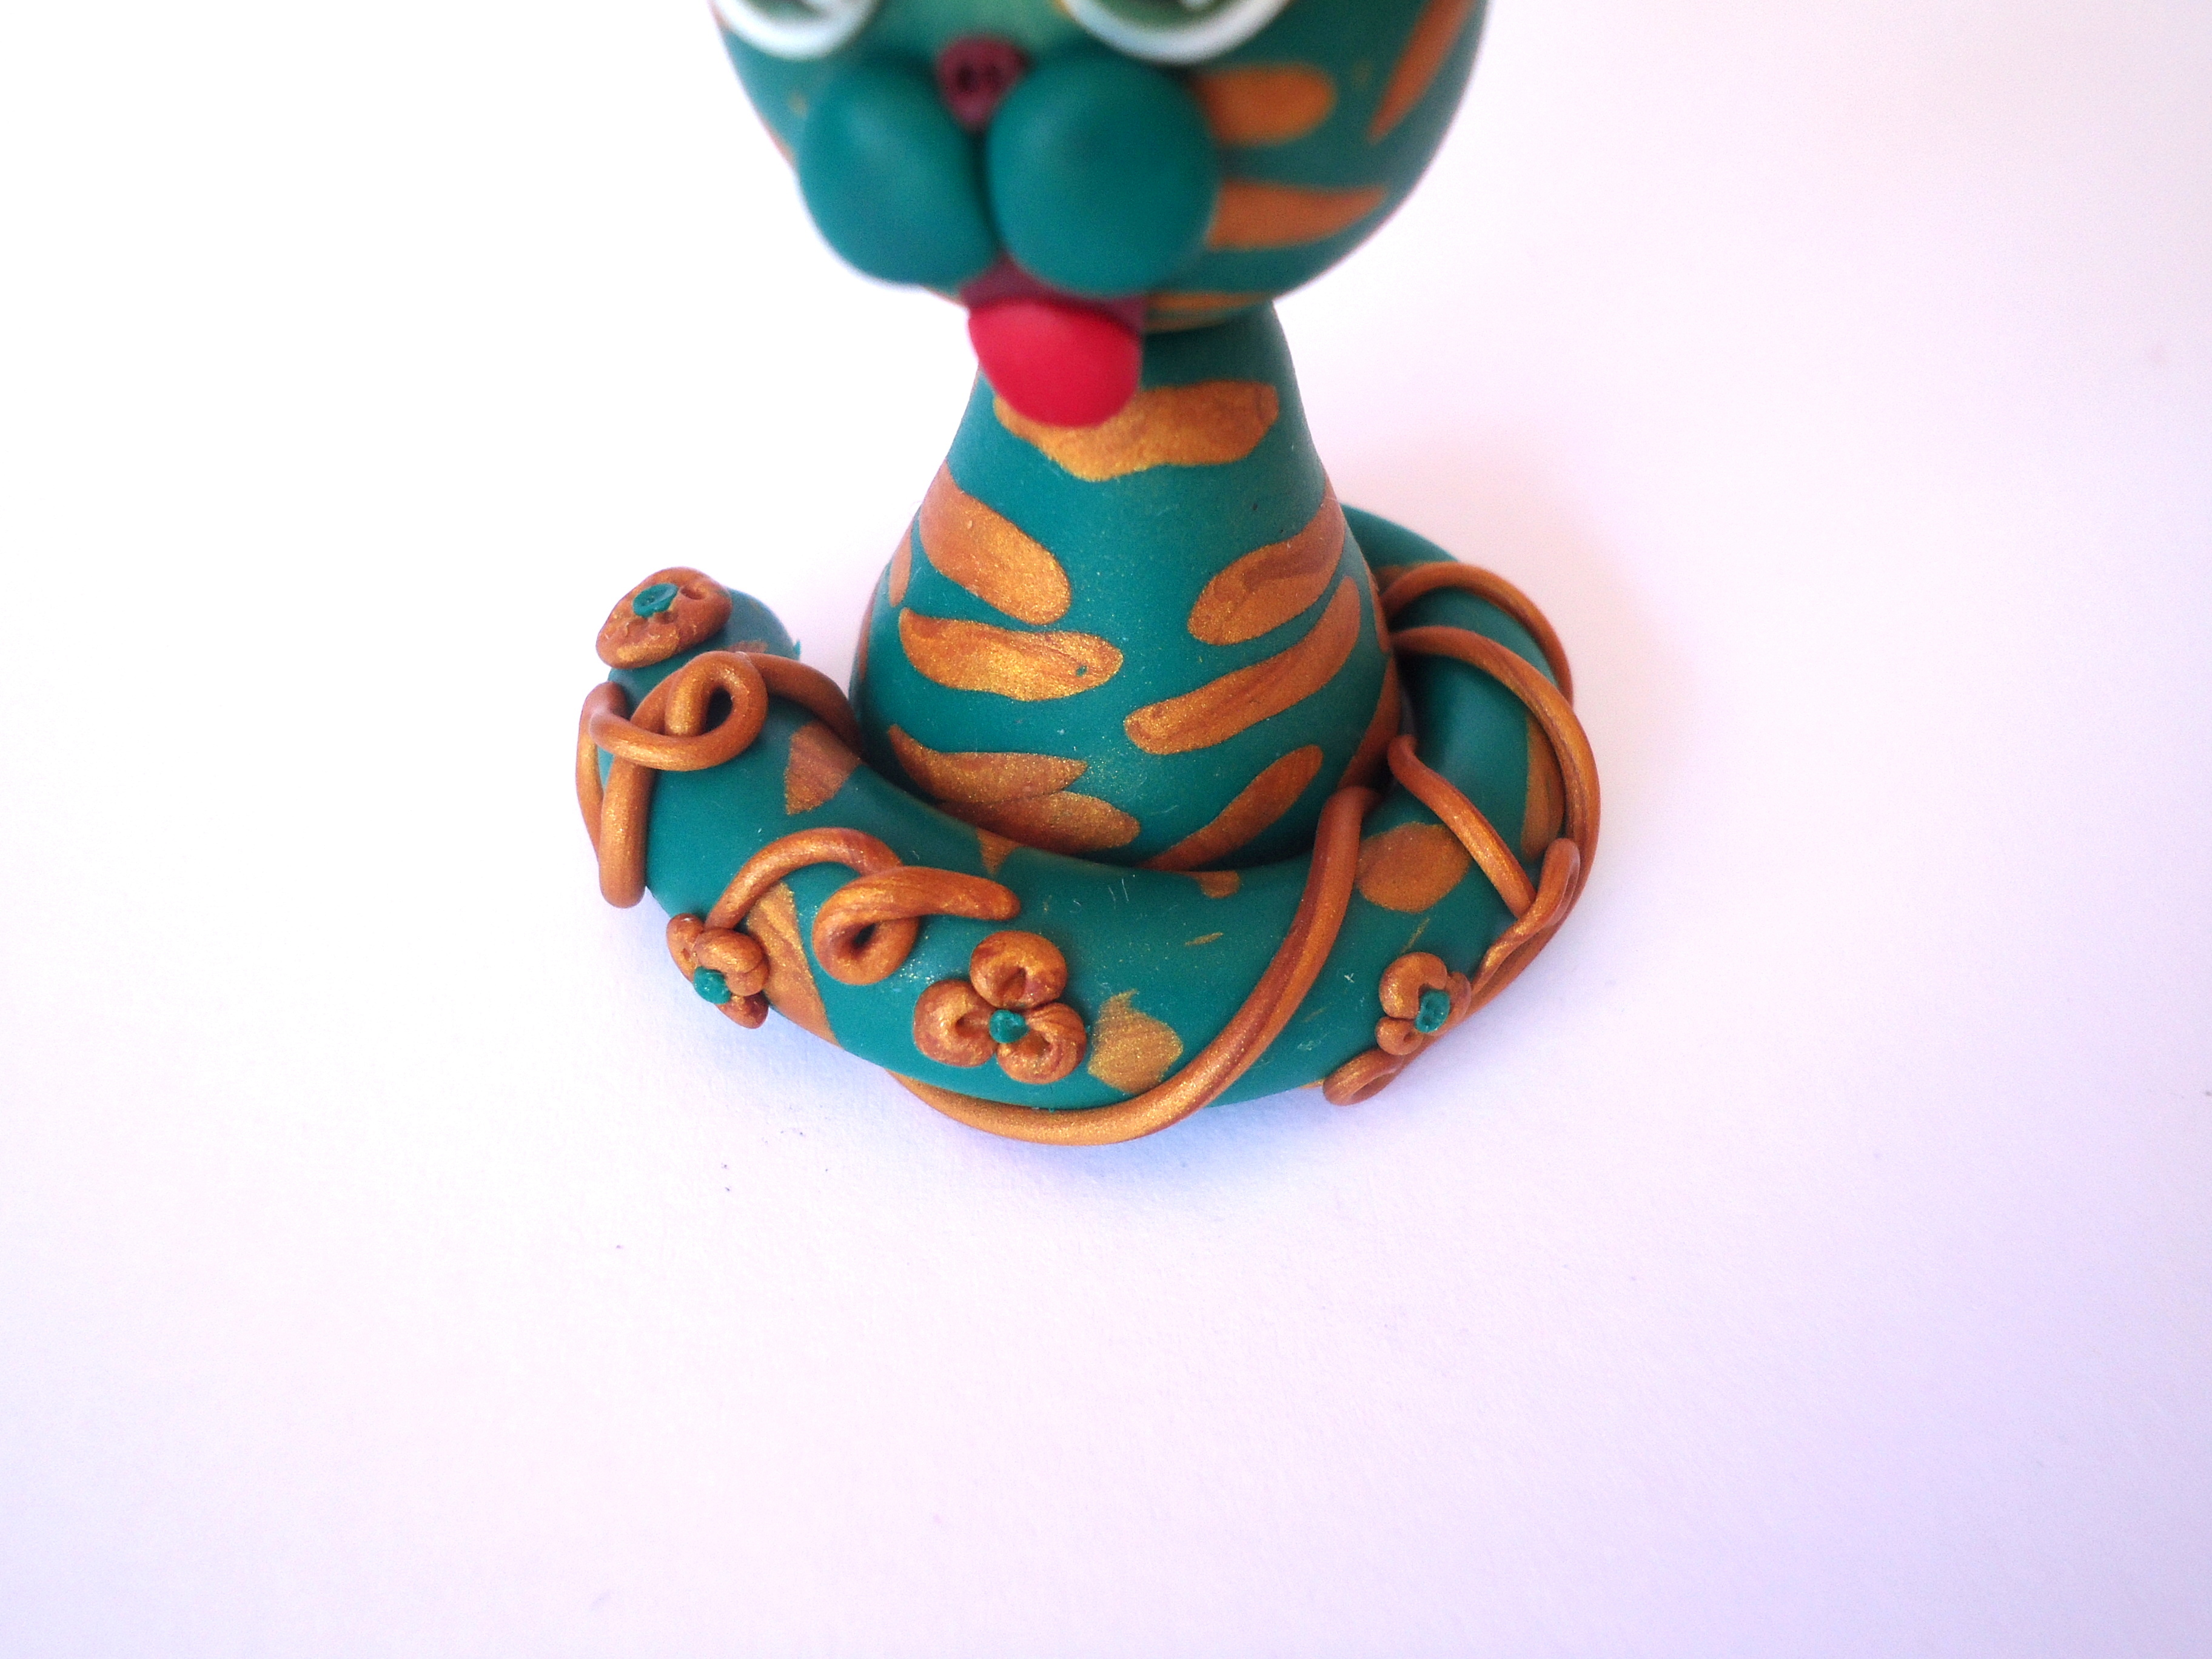
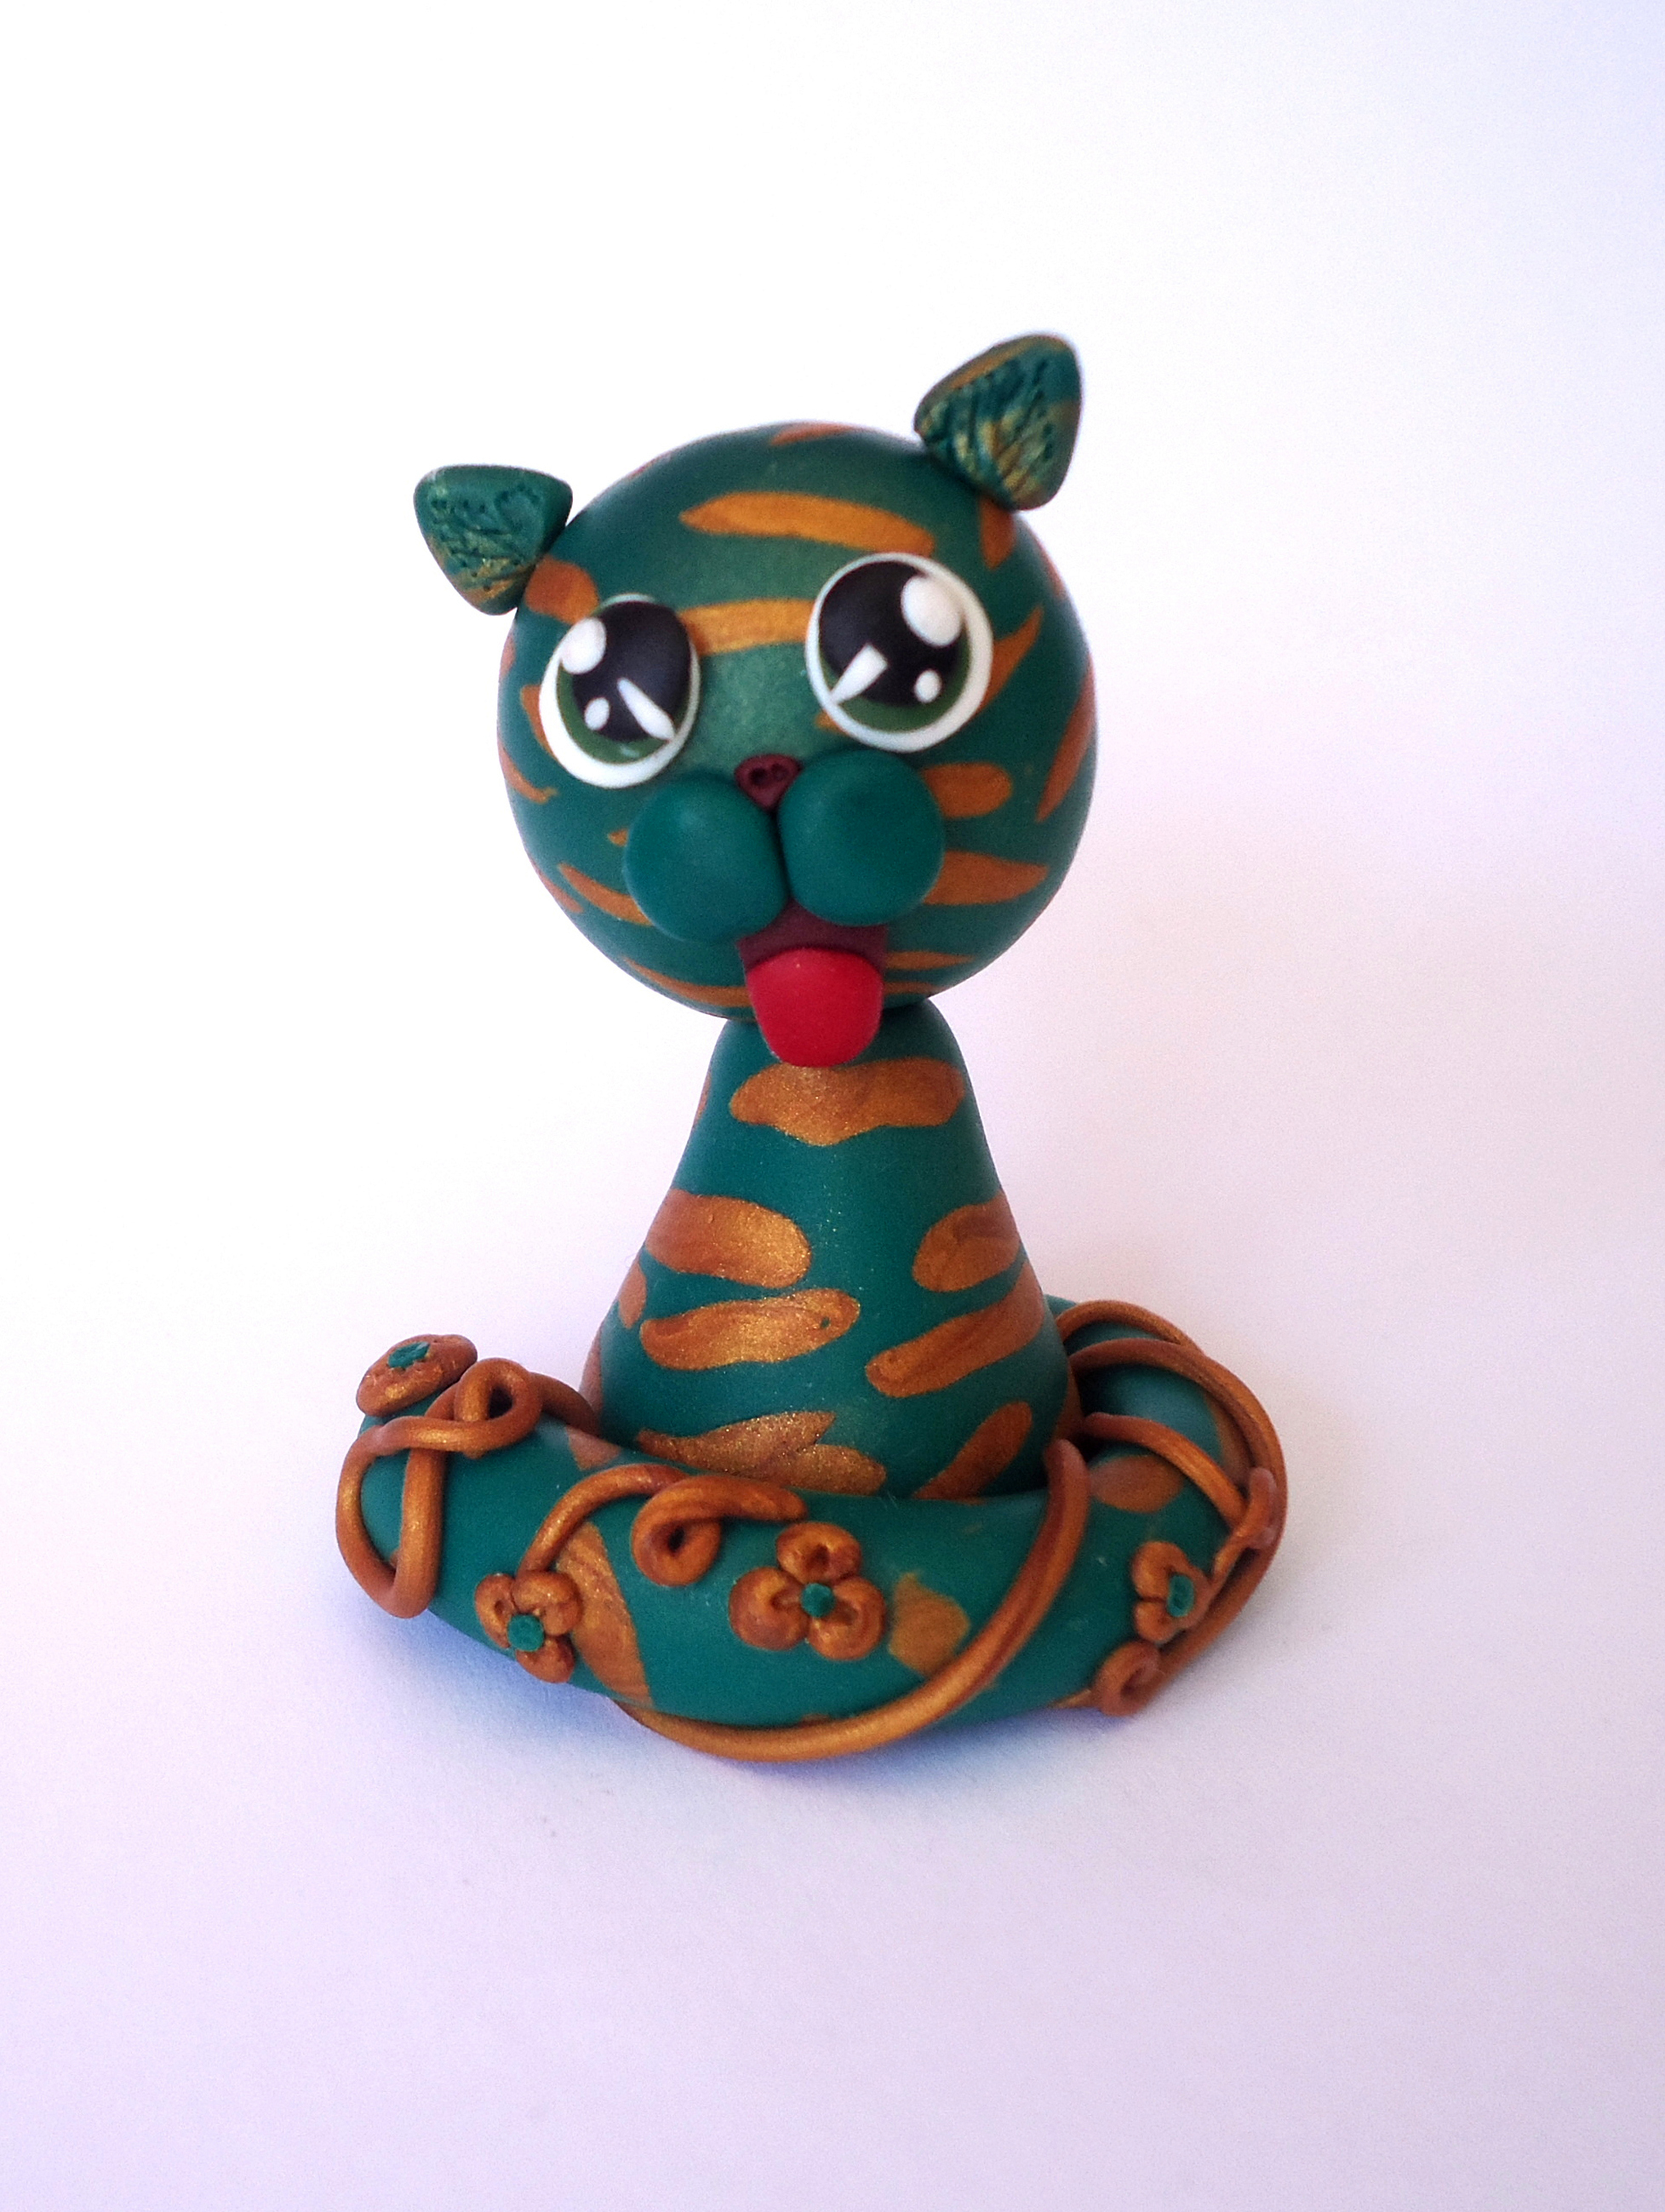
And here is the result:

And other kitties posing “purrrfessional” ❤
Have a great day, surrounded by love. If you have other ideas feel free to share it here. Or even if you try to take pictures in this way, I would love to see some results ❤
See you next time,
Take Care and I Love You All :* Without you, I wouldn’t have reached here ❤


All Handmade Dreams ❤
